How to Create Print-Ready Passport Photos at Home for Free with Filix
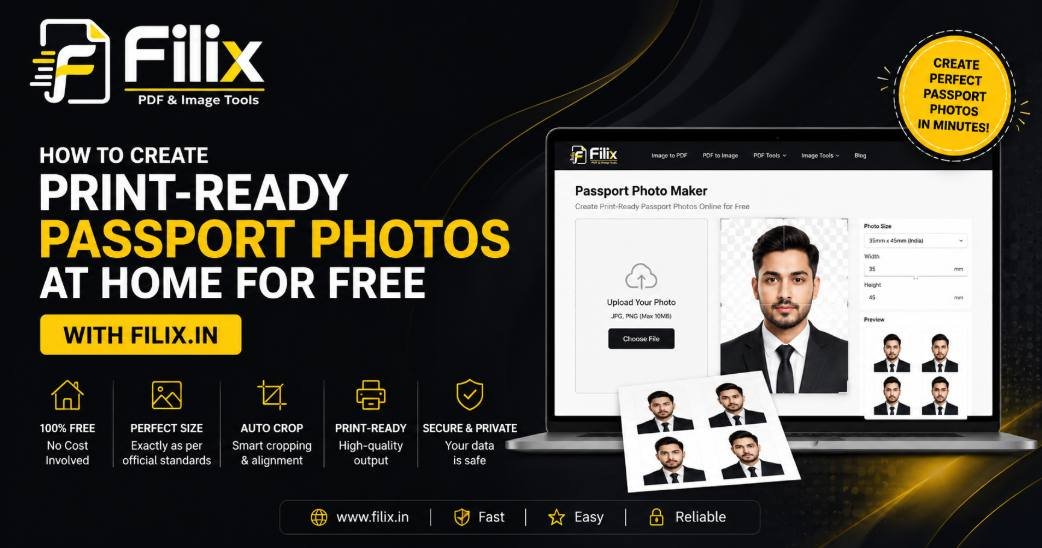
Taking passport photos used to mean heading to a photo studio or pharmacy, paying steep fees, and hoping the lighting and background met strict government specifications. With Filix Passport Photo Maker, you can create professional, print-ready passport photo sheets right from your browser in under two minutes—completely free and without uploading your photos to external servers.
Here is a step-by-step guide to using Filix to prepare compliant passport photos at home.
Why Use Filix for Your Passport Photos?
- 100% Client-Side Privacy: Your photos are processed entirely inside your web browser. Nothing is ever uploaded to a cloud server, ensuring full data protection for sensitive identity photos.
- Smart Background Removal: Uses an onboard AI cutout engine that automatically isolates the subject from busy backgrounds.
- Custom DPI & Resolution: Choose between 300 DPI (standard high-quality print), 600 DPI (ultra-high resolution), or 200 DPI (lightweight digital files).
- Instant A4 Print Sheet Creation: Tile multiple passport photos onto a single A4 sheet to print at home or at any local print shop.
- Name & Date Captions: Easily add required photo captions (such as candidate name or date taken) directly onto photo cards.
3 Simple Steps to Create Your Passport Photo Sheet
Step 1: Upload and Adjust
Open the Filix Passport Photo Tool. Drag and drop your photo (JPG, PNG, or WEBP) into the upload box. Drag inside the frame to reposition your photo and scroll to zoom in or out. Set your target DPI settings (300 DPI recommended for standard printing).
Note: The AI background cutout model (~25 MB) downloads once on your first visit and runs locally in your browser cache thereafter.
Step 2: Configure Borders & File Output
Select your preferred border thickness (ranging from No border up to 12 px) to clearly define cutting lines without altering the photo's physical dimensions. Choose your output file format:
- JPG: Ideal for smaller file sizes and photo prints.
- PNG: Recommended if you need to retain a transparent background for digital forms.
Step 3: Generate the A4 Print Sheet
Specify how many copies you want to print per sheet. The tool automatically fills and aligns the photos from the top down on an A4 layout. Download the print-ready sheet and output file to print at home or take to a local print store.
Tips for Official Passport Photo Acceptance
To ensure your DIY passport photo gets accepted by official agencies:
- Lighting: Sit facing a soft light source (like a window) to avoid heavy shadows on your face.
- Expression: Maintain a neutral facial expression with both eyes open and mouth closed.
- Framing: Ensure your shoulders are visible and there is adequate space above your head so you can easily crop within the tool.